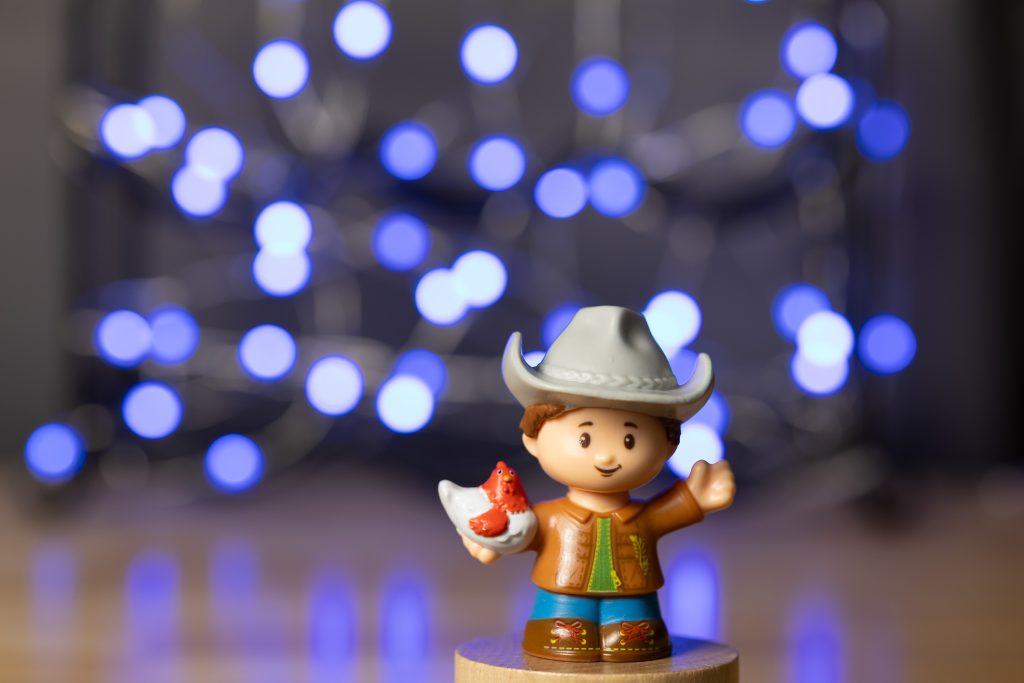
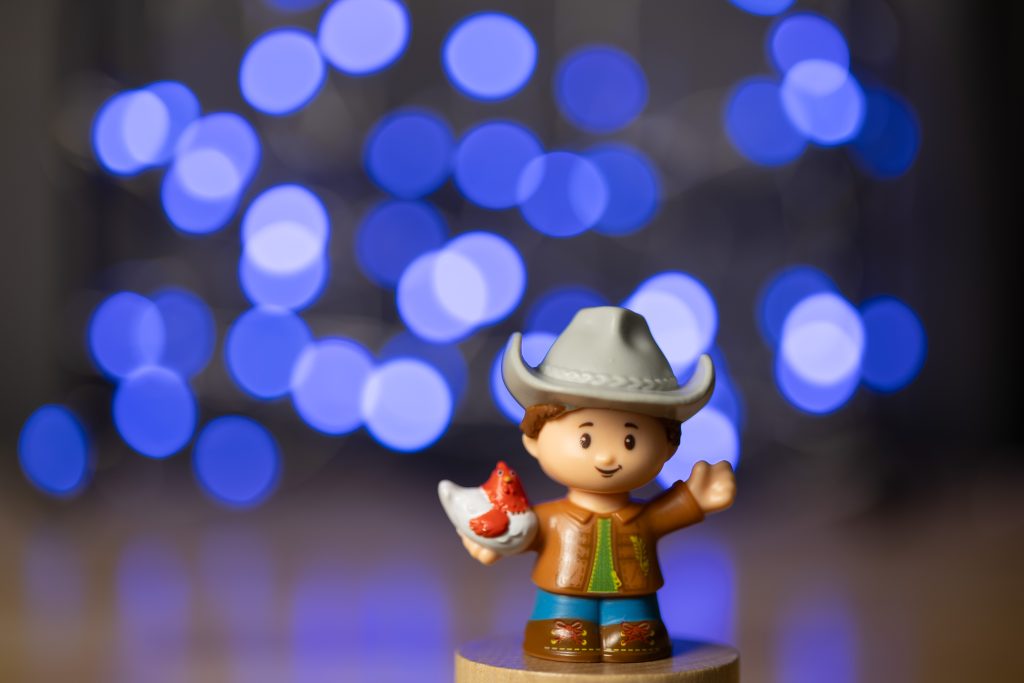
When taking a photo, have you ever been curious about how professional photographers achieve that beautiful creamy blurred background? The name of the blurred background is “bokeh”, pronounced “bow-kay”. It describes the quality of blur and comes from the Japanese word “boke”. Photographers achieve this by composing the subject with the background and using a specific aperture size in their lens. Increasing the distance between the subject and the background will increase the overall effect of bokeh. Opening the aperture lets in more light, but decreases what is in focus within the frame of your picture and affecting bokeh. I dive deeper in this article about the effects of aperture on background blur.
What is the aperture?
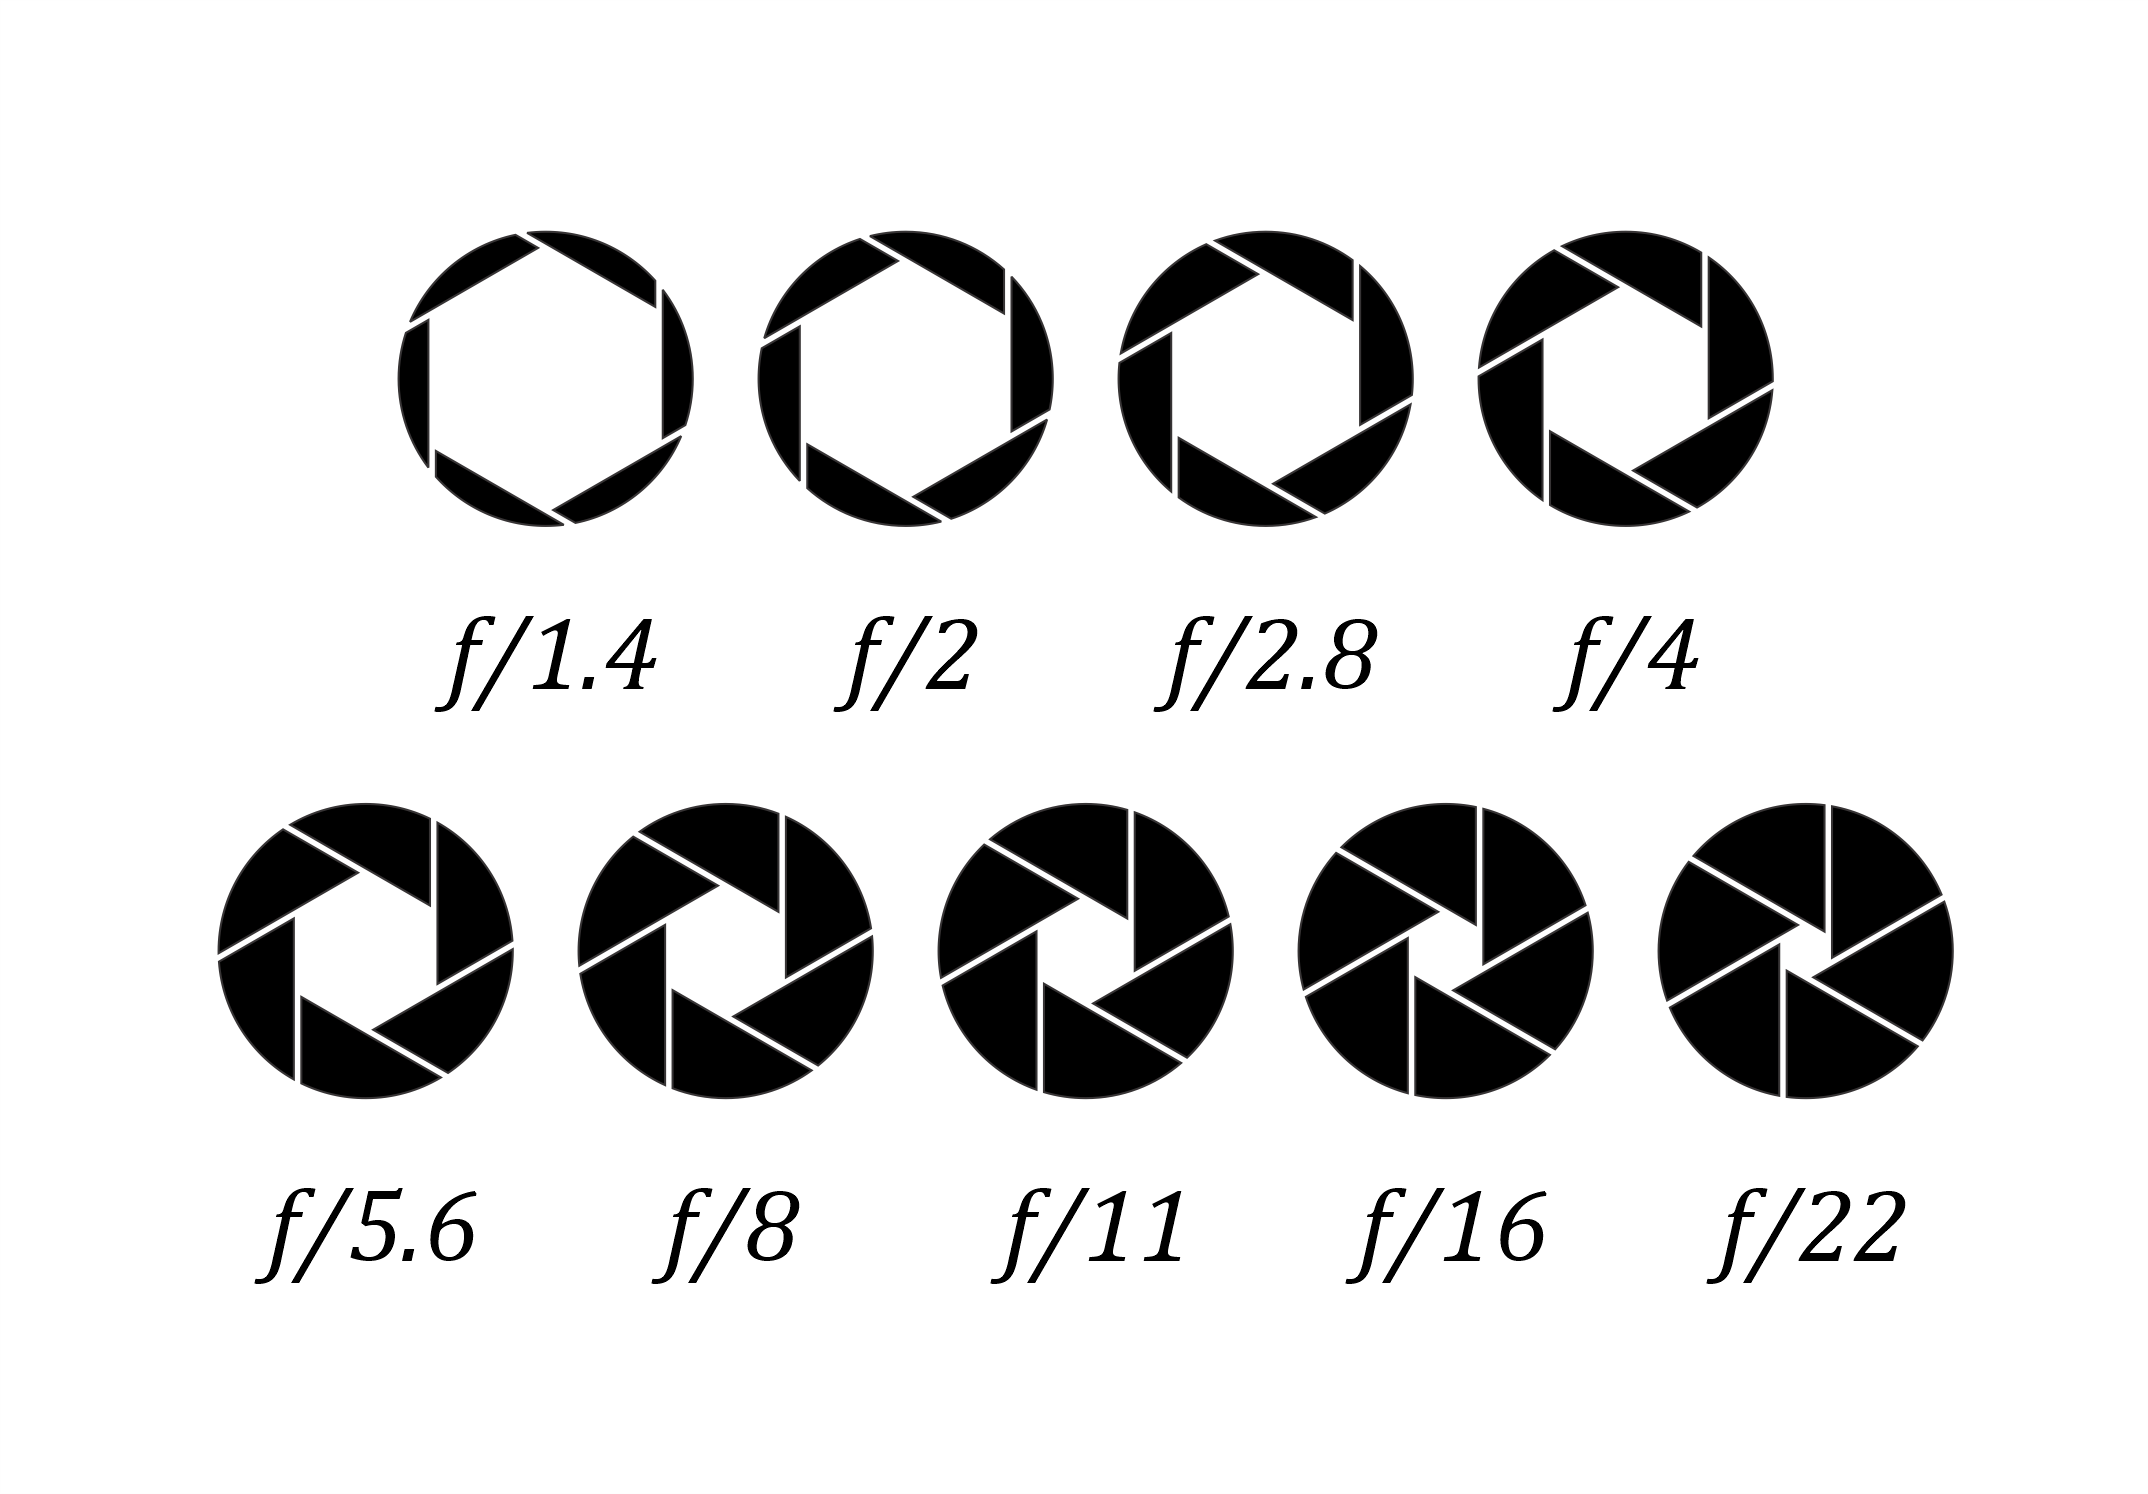
The aperture, also known as the iris of the lens, is the opening in front of the lens that allows light to pass through. Opening of the aperture blades determines how much light can enter the lens. This has an affect on the amount and quality of bokeh. The opening is calculated using f/stops. The smaller f/stop numbers equate to the larger lens diaphragm opening.
Looking at the diagram below, f/1.4 shows a wide opening for light to enter. F/22 shows a closed down aperture with a much smaller access point for light. Each step from f/1.4 to f/2 and on, in the diagram equates to one less stop of light. Going the other way from f/2.8 to f/2 results in an increase of one stop of light. The more light that the lens is able to gather (smaller f/stop number) the less in focus particular areas of the photo will be resulting in a shallow depth of field. With less light gathered (larger f/stop number) more areas of the photo will be in focus resulting in a deep depth of field.
Testing the effects of aperture
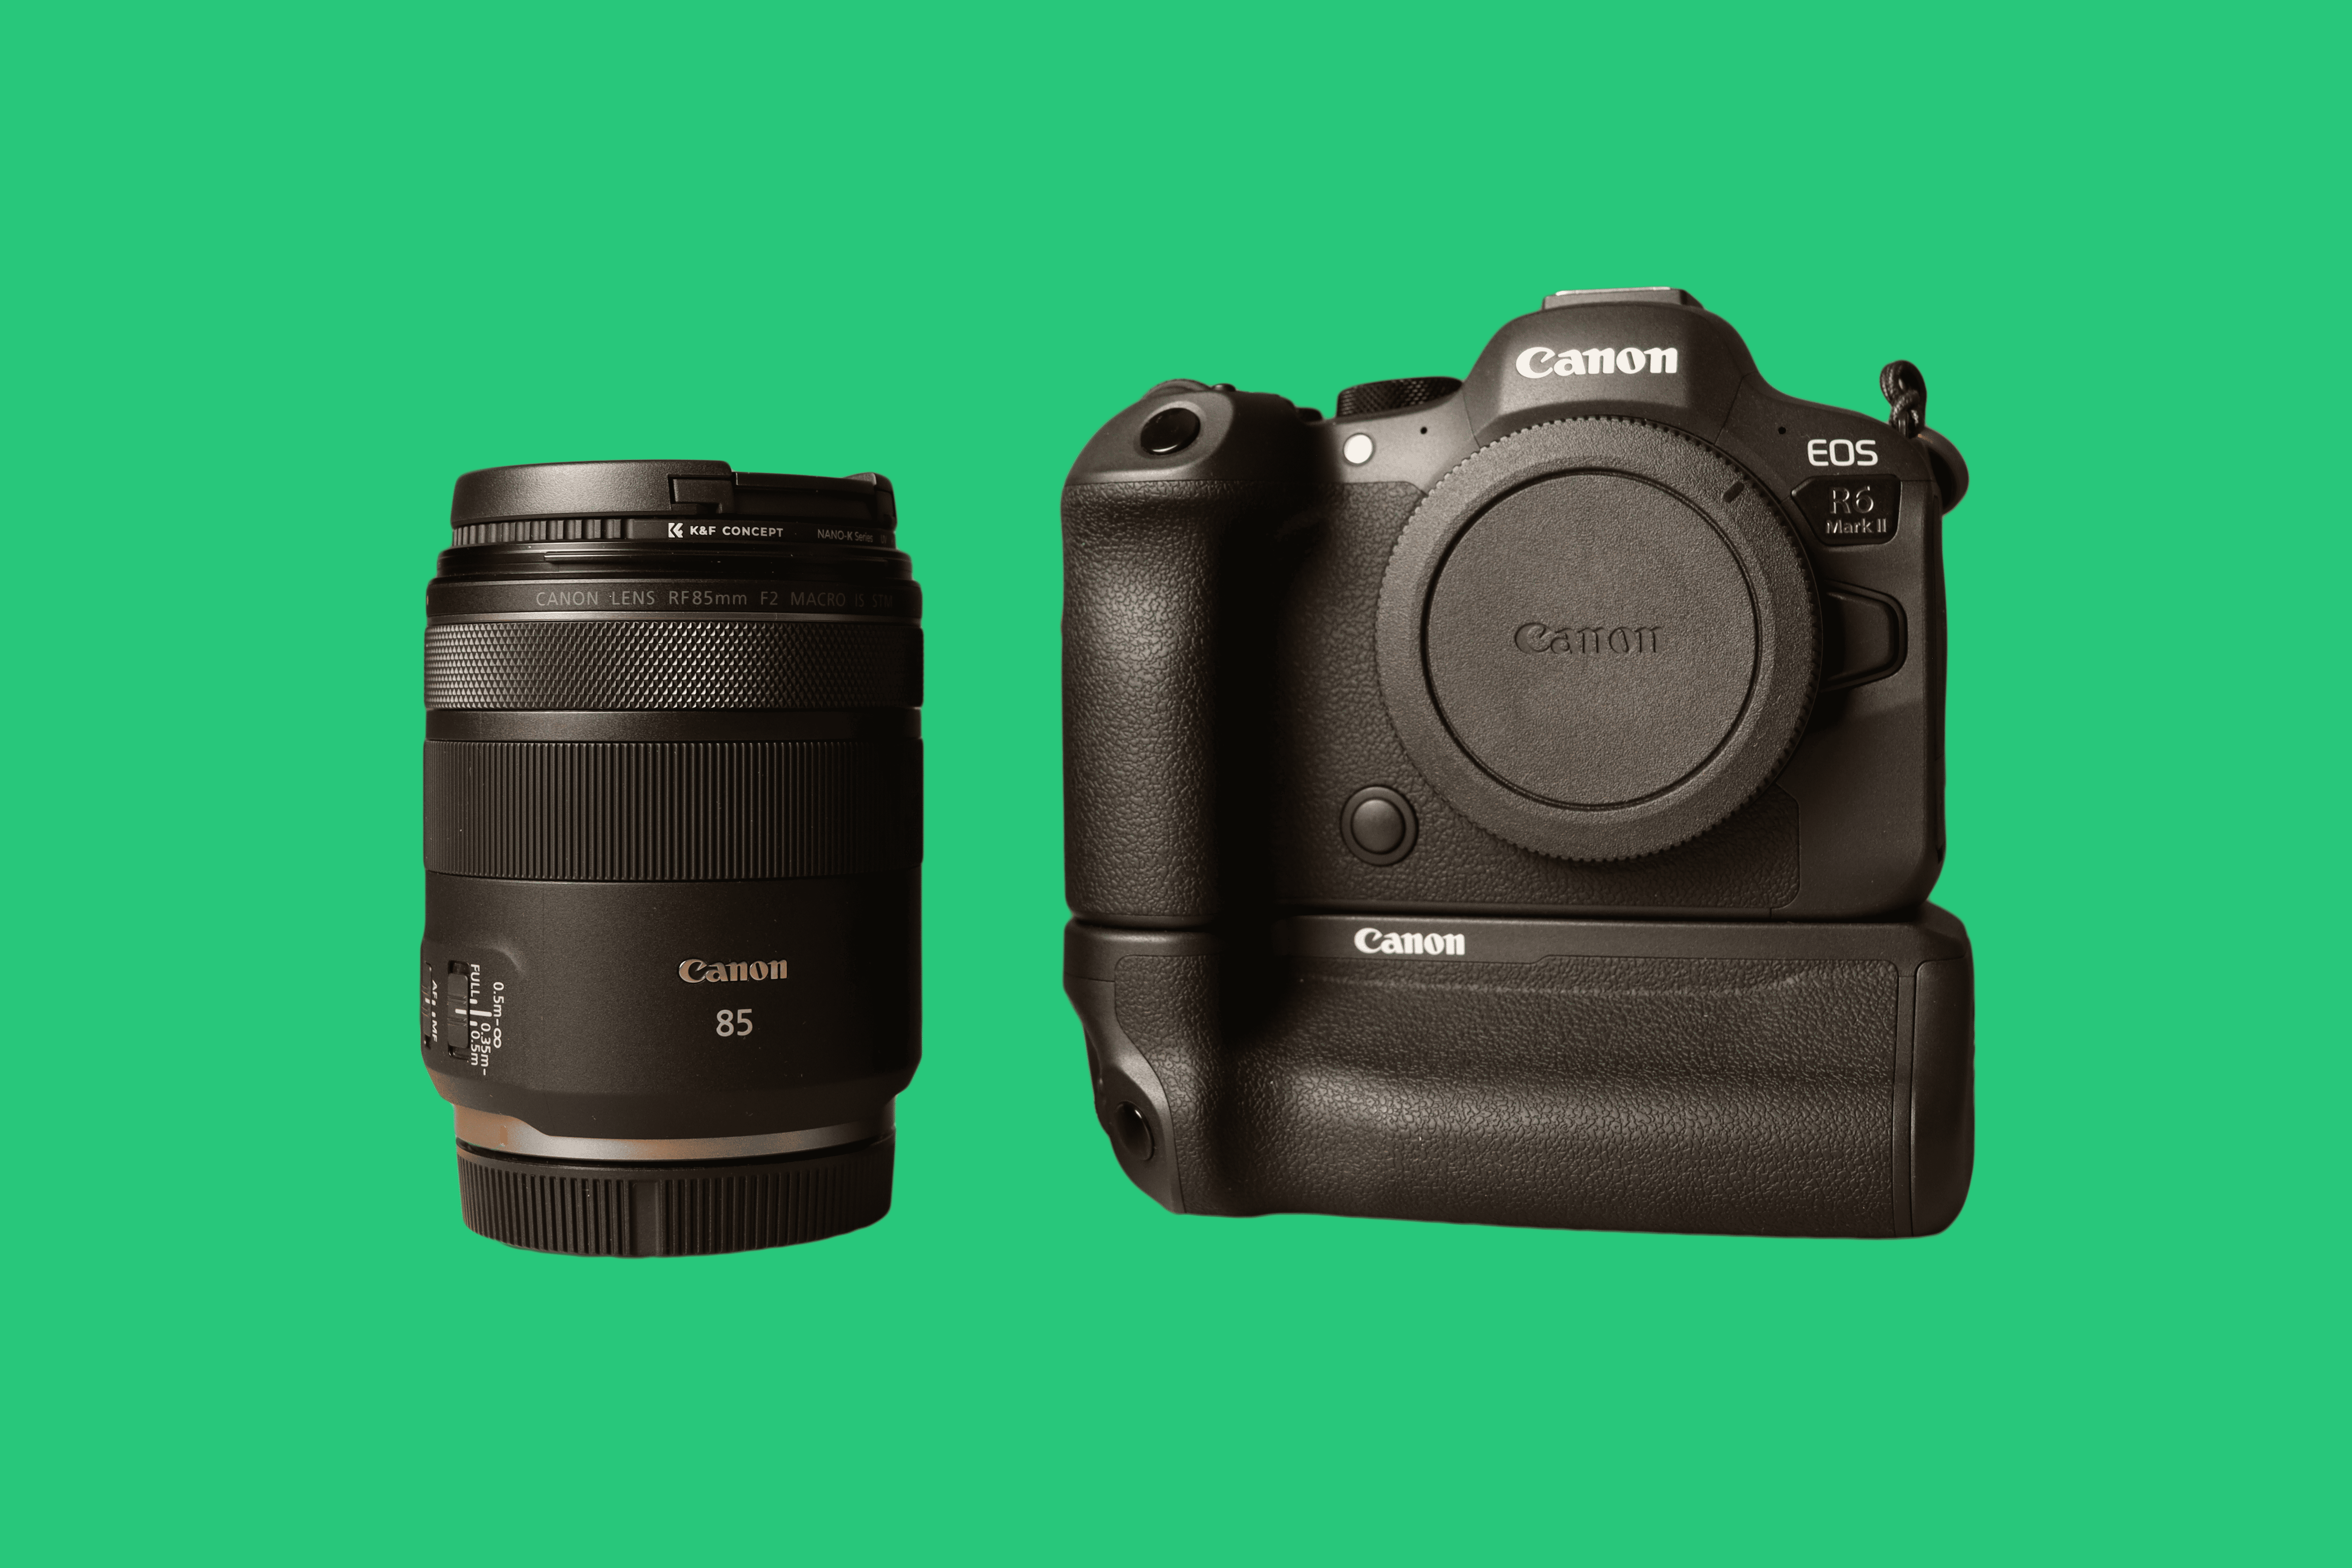
To show the effects of aperture on bokeh, I will use my Canon R6 Mark ll camera and my Canon RF 85mm f2 Macro lens. My testing is completely independent and not sponsored. The lens I chose has a minimum aperture of f/2, so my testing will start at that aperture which is wide enough to give some nice bokeh, especially at 85mm. It is also capable of 1:2 macro production which is below a typical macro lens with a 1:1 ratio, but it does add some flexibility and close range not seen in a typical budget portrait style lens.
All photos for testing are taken in manual mode with the electronic shutter on a tripod at the same distance away and saved to the SD card as RAW files. The only adjustments made will be the aperture and the shutter speed to equalize the exposure triangle to keep shooting with a lower iso setting. This will give us a cleaner and less grainy image out of the camera. All photos are taken at the exact same location and distance with custom blue wired lights in the background. Minimal post processing will be done to as I will export them from photoshop as JPG files.
F/2
At the f/2 aperture, the background is completely obliterated with large bokeh blobs. This is the lens completely wide open. At this aperture there is a very thin area of focus. My focus point is set on the character’s right eye closest to the chicken. The character’s face is otherwise in focus, but the shallow depth of field at this f/stop is apparent. The chicken is dipping out of focus slightly, along with the character’s other hand. This shows how important it is to have your focus point set to the area you want in focus. It’s especially true when using a wide open f/stop.
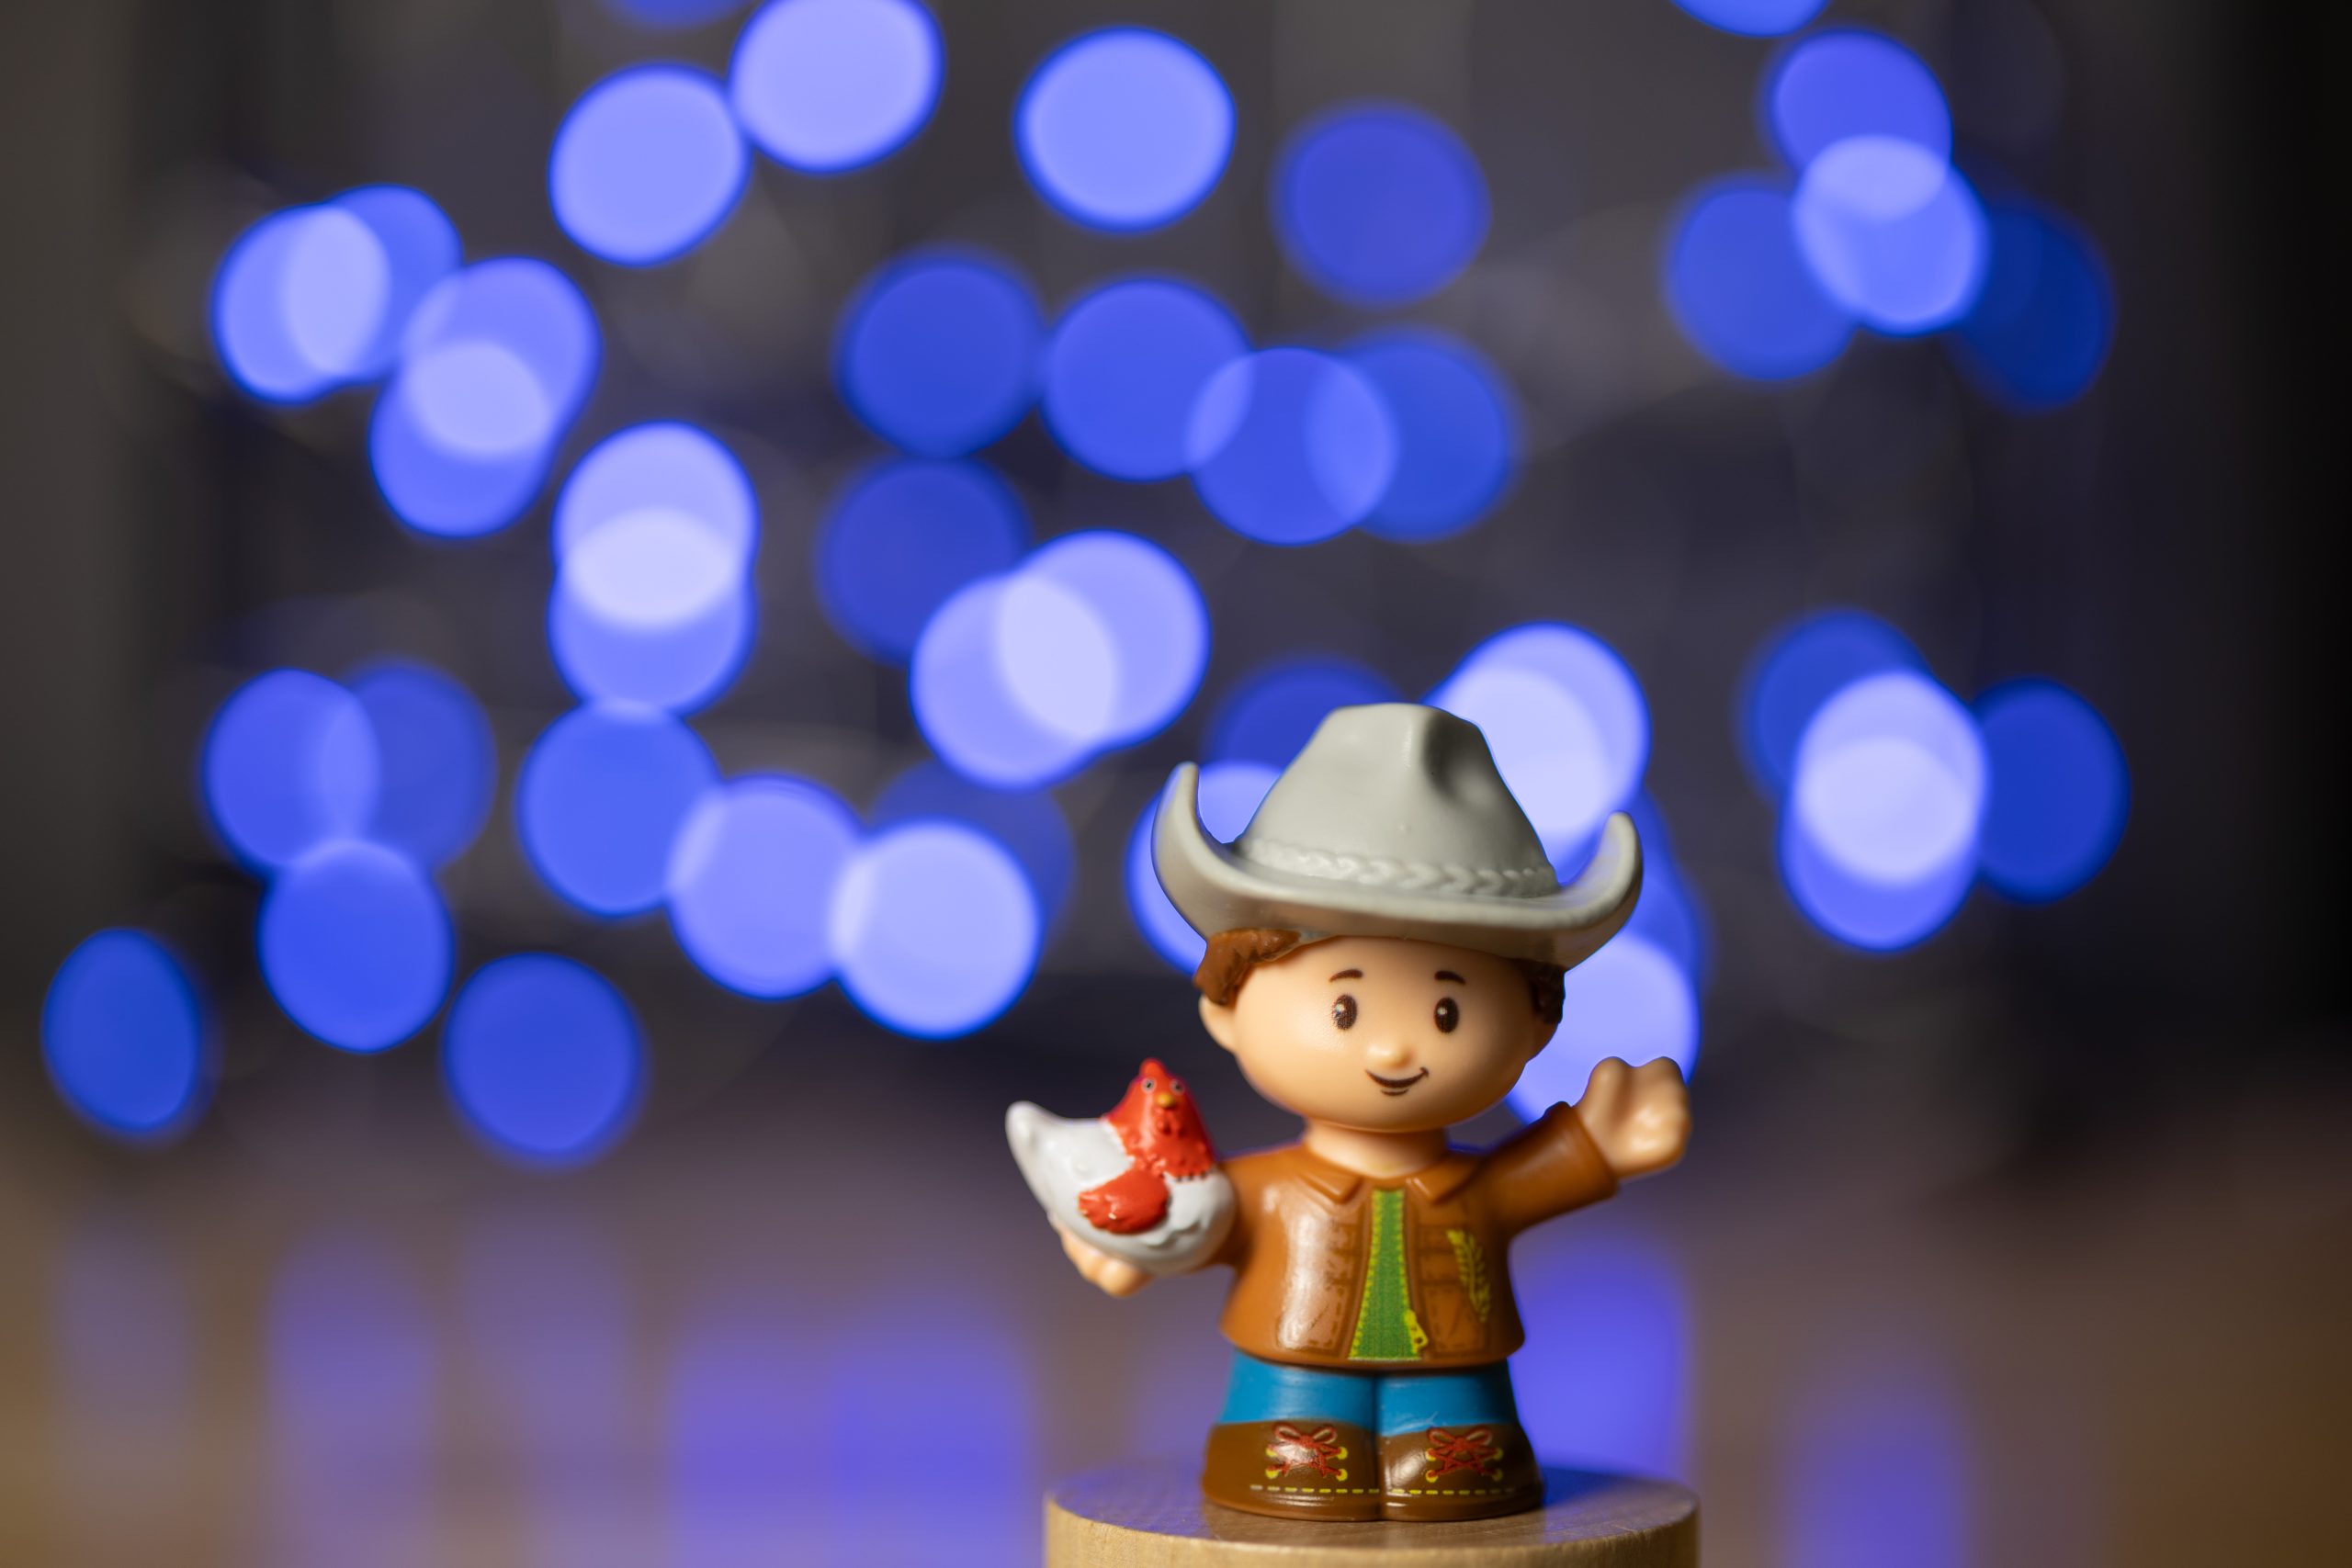
F/2.8
Dropping the f/stop down one stop of light can make a big difference on an image. The f/2.8 aperture is giving us a much different effect on the bokeh blobs behind our character. They now appear more rounded and in my opinion slightly more pleasing to the eye. The background is still unrecognizable with plenty of background blur. The chicken is still slightly out of focus, but improving.
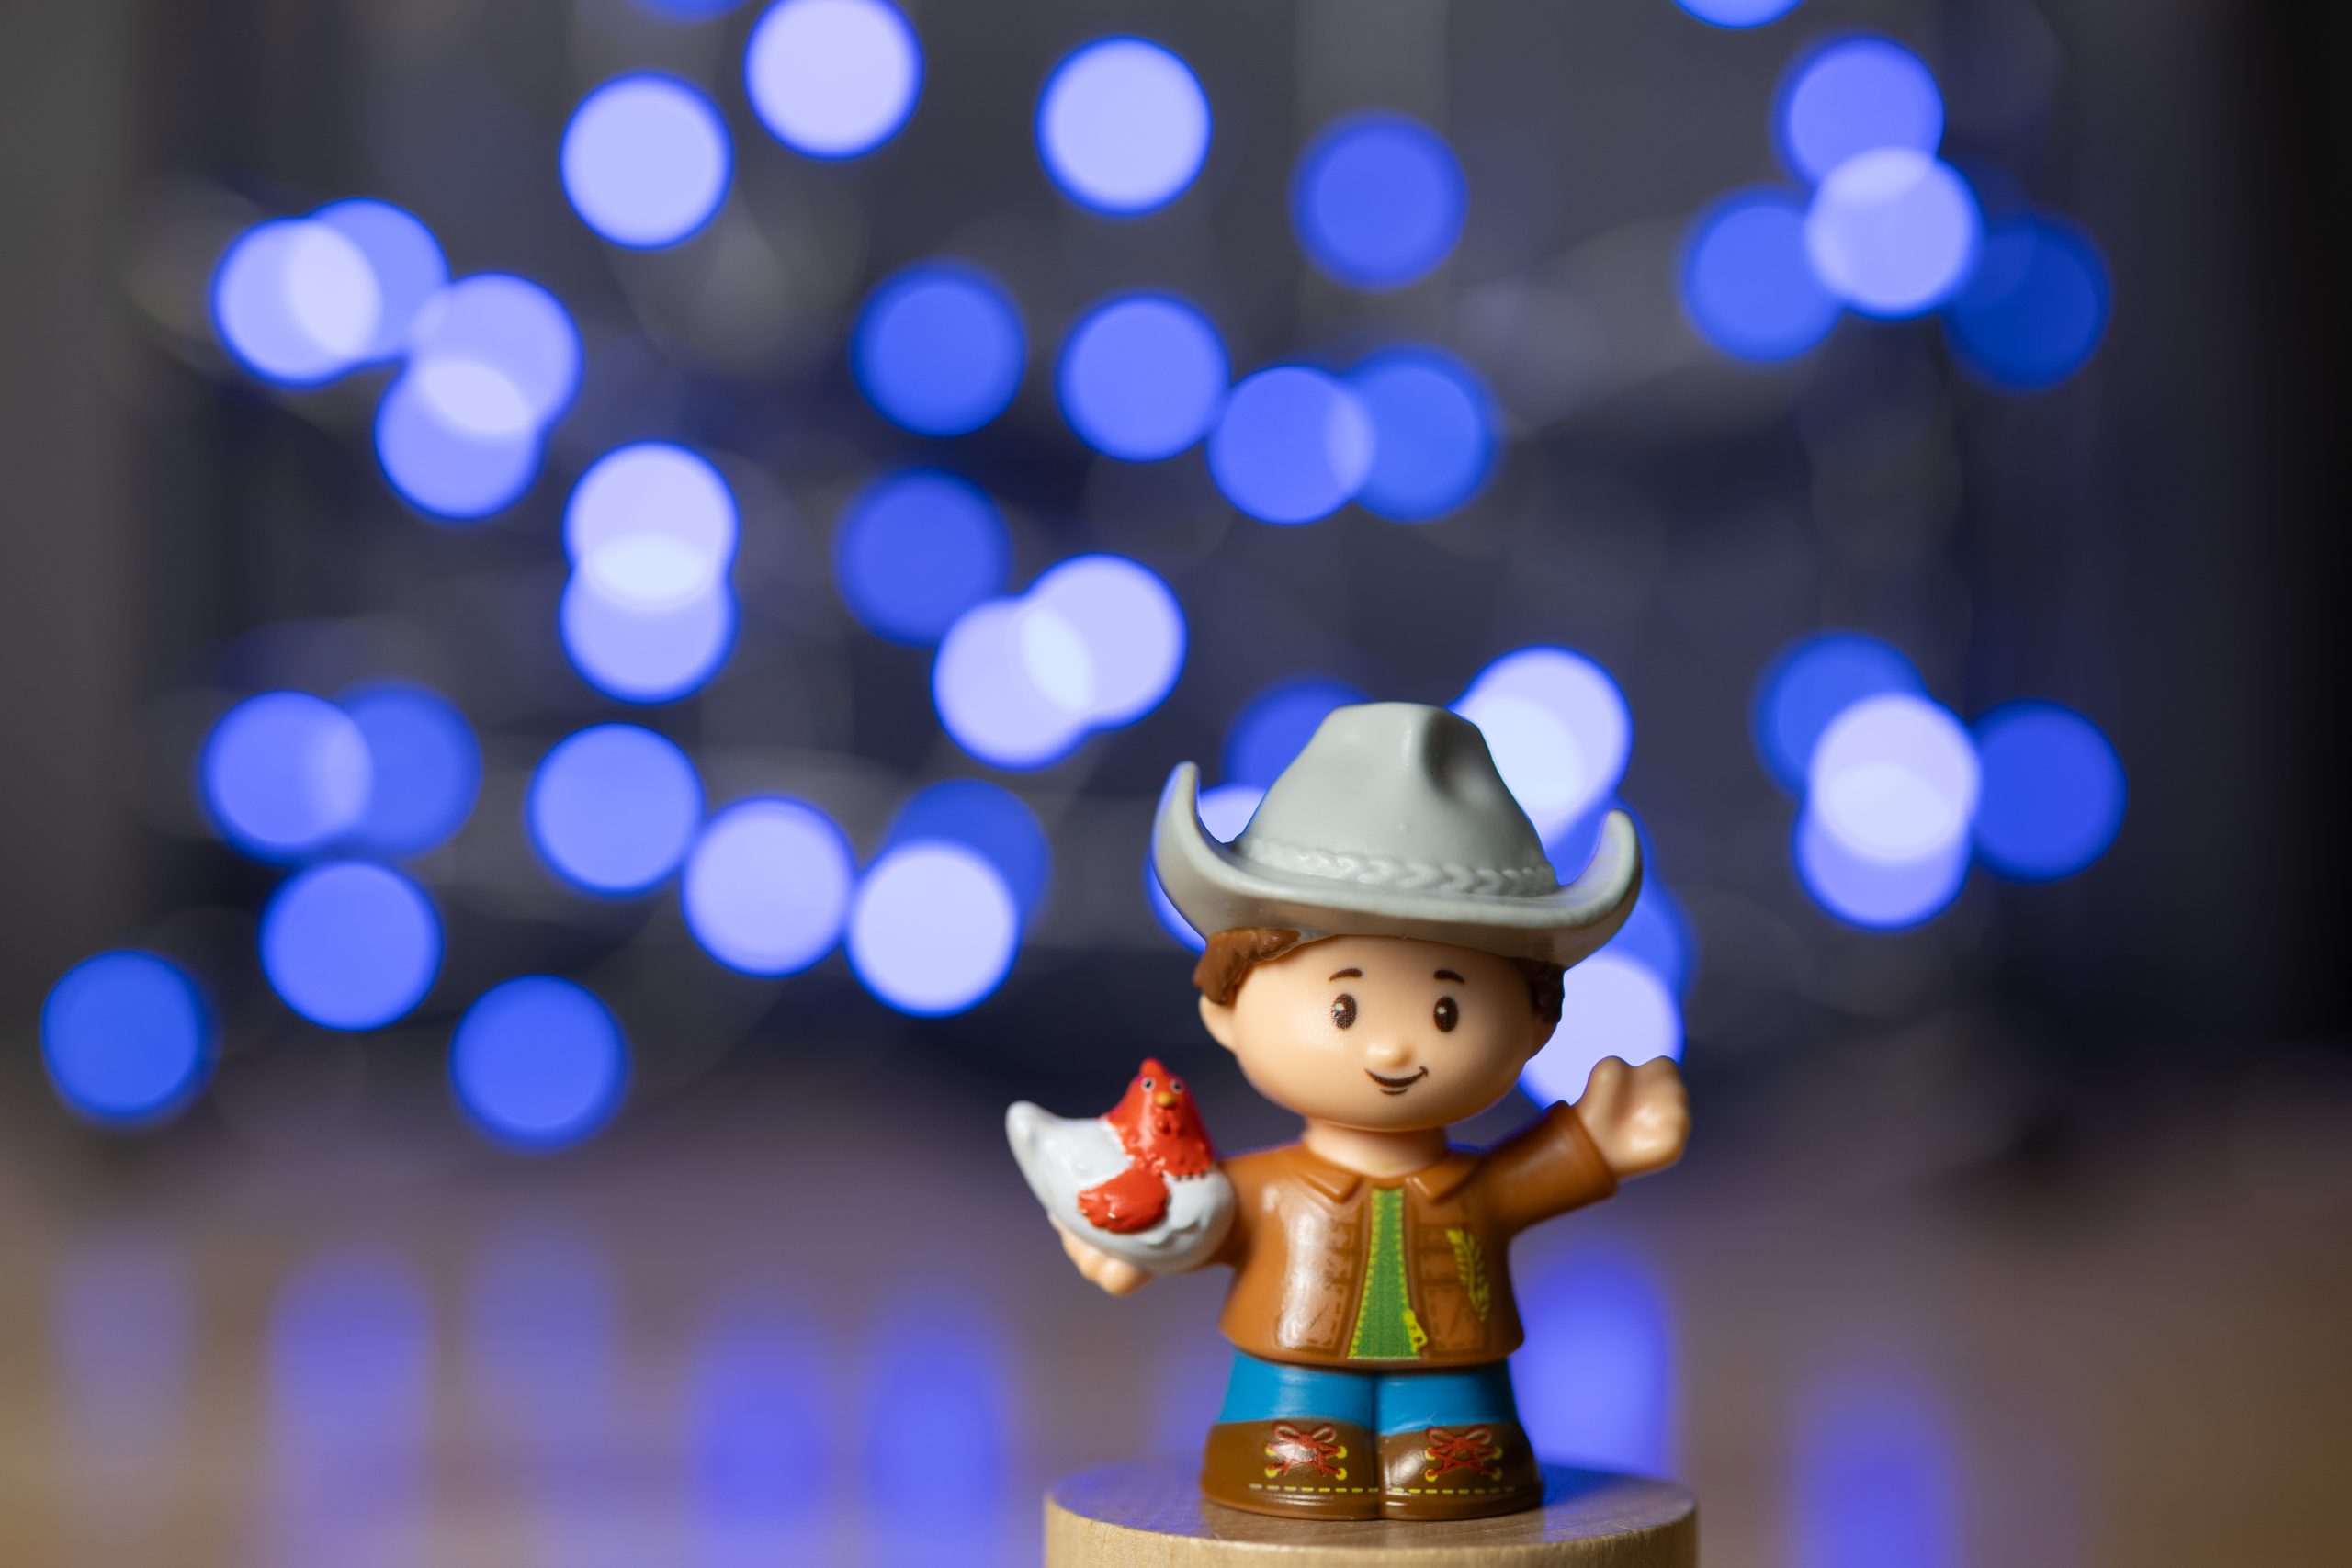
F/4
Often talked about in photography is the difference between an f/2.8 zoom lens, compared to an f/4. While not a direct comparison, this does give the example of the difference between f/2.8 and f/4.
The f/4 aperture is still showing us nice rounded bokeh in the background, while we can start to see a little more behind our character. Focus on our chicken friend has greatly improved as well. This is a good example of when you are shooting 2 subjects together in a frame, you might choose to stop your lens down to at least f/4 to help keep what you want in focus.
